Want to draw a refreshing slice of watermelon in pixel art? In this tutorial, you’ll learn how to create a colorful pixel watermelon step by step using simple tools.


Drawing pixel art fruit is a fun way to practice your skills, and watermelon is a perfect place to start. In this guide, you’ll learn how to sketch, color, and shade your very own pixel watermelon sprite. Whether you’re making game graphics, designing icons, or just looking to add a cute fruit design to your art collection, this walkthrough will help you get there quickly and easily.
How to Make a Pixel Art Watermelon
Here’s a quick breakdown of the steps we’ll take to draw a pixel art watermelon:
- Choose a Pixel Art Program such as Mega Voxels, Photoshop, or Aseprite
- Set up a 32×32 pixel grid
- Sketch the outline of the watermelon slice
- Fill in the red, green, and white colors
- Add shading and highlights for depth
- Finish it off with a colorful background
Once you know the steps, we’ll walk through each one in detail with examples so you can follow along and make your own version.
Select a Pixel Art Software
We’ll be creating our watermelon using a pixel editor. Before starting, make sure you know how to set up a grid and use the pencil tool in Mega Voxels. Once your slice is done, you can use it as a sprite in games like Minecraft, or even import it into the Unity Game Engine. For this tutorial we’ll be working in the Mega Voxels Pixel Editor. You can check out some of our beginner guides here:
Create a Grid
Start with a 32×32 pixel grid. This is a standard size for making sprites and small game assets. Set your canvas background to White (#FFFFFF) so you have a clean surface to work on. Your grid should look like this:

Sketch an Outline for the Watermelon
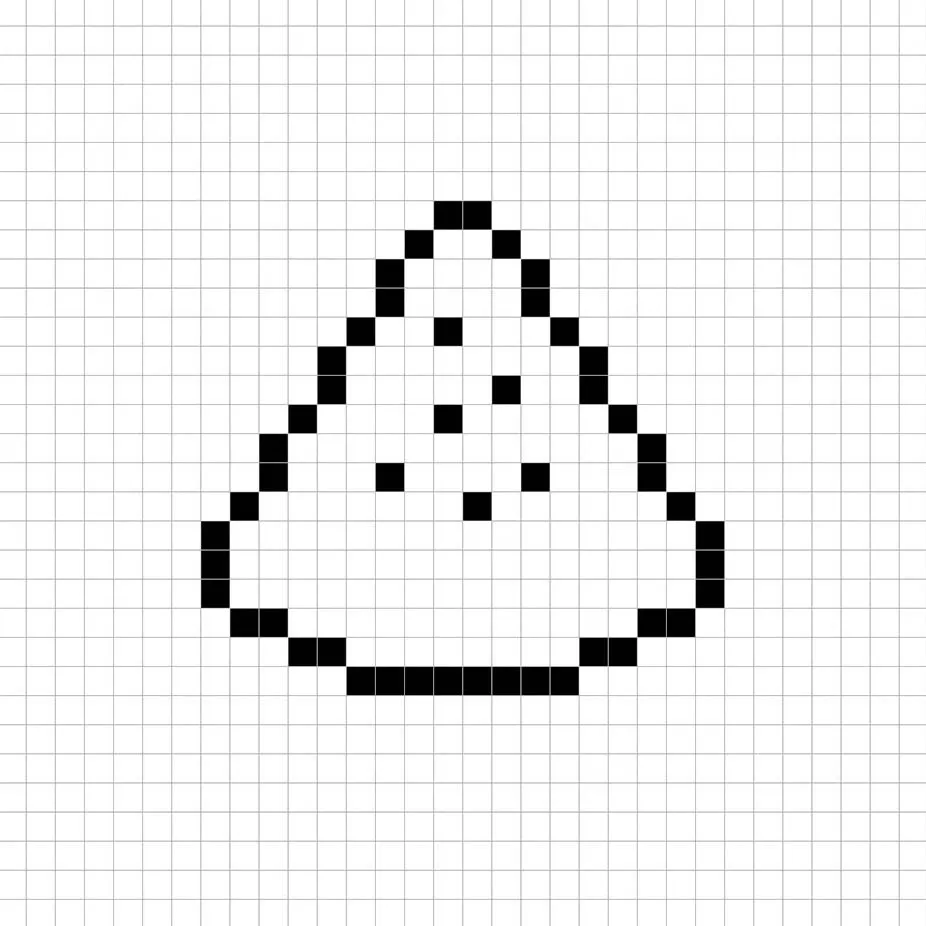
Use the pencil tool with Black (#000000) to draw the outline of your watermelon slice. This step defines the shape, so adjust it until you’re happy with how it looks. Below is an example outline you can use as a guide, or feel free to customize your own.
Fill in the Color
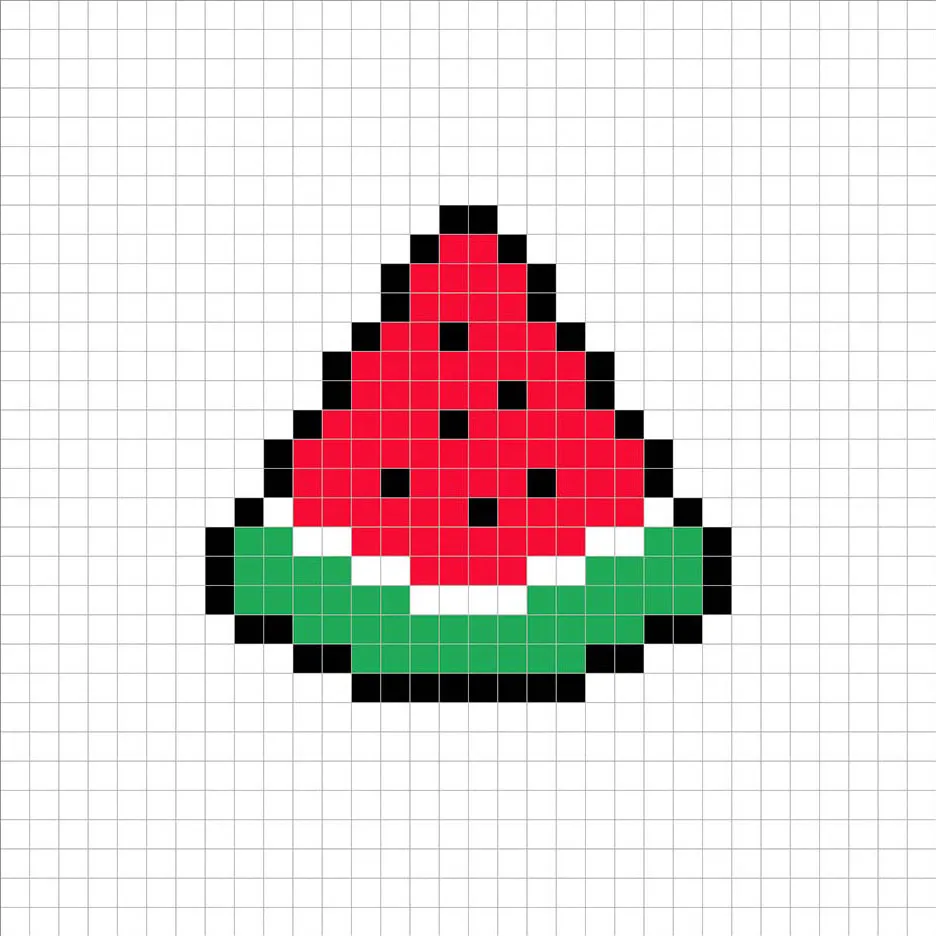
Now add the main colors. Fill the center of the slice with Red (#FF0F34), use Green (#00A152) for the rind, and place a thin White (#FFFFFF) line in between to separate them. Use the example below for reference:
Draw the Shading
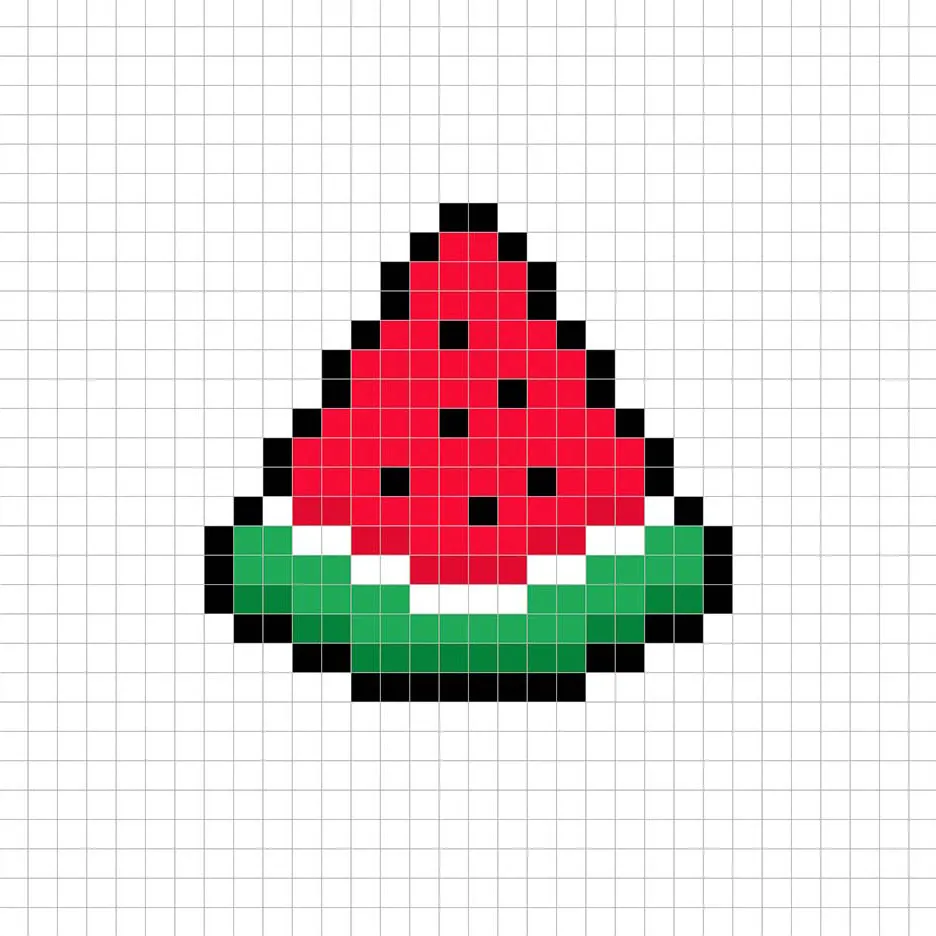
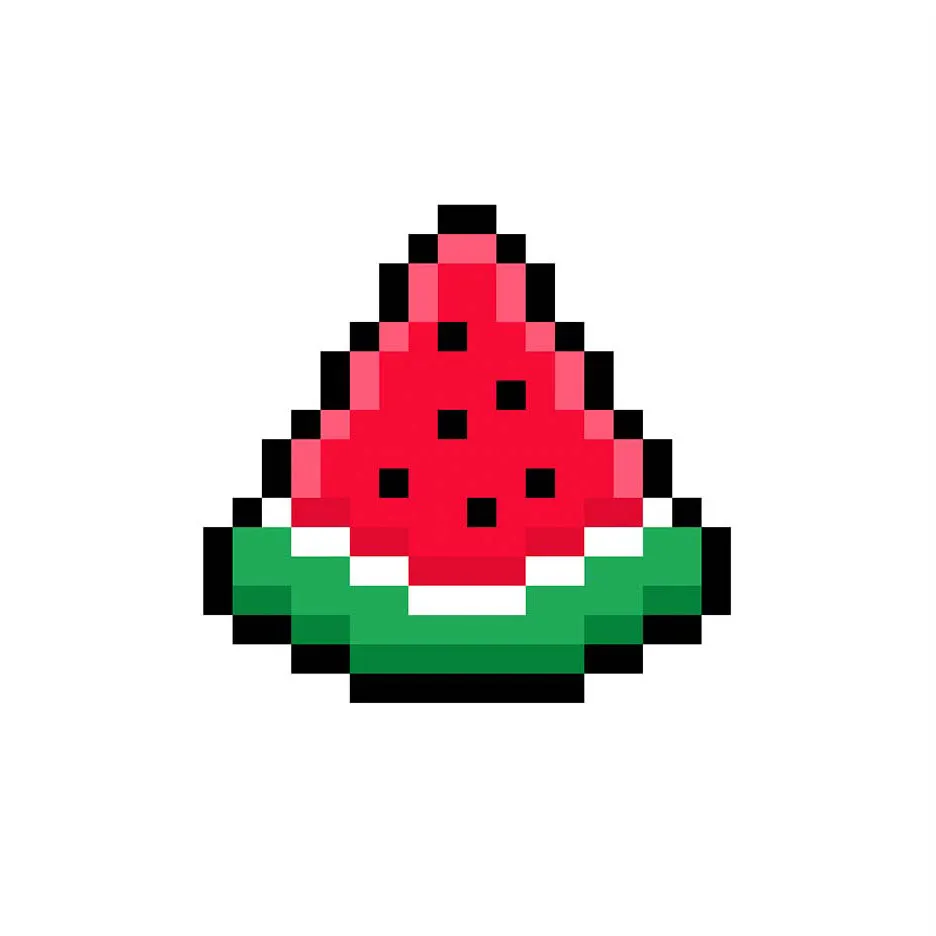
To make your watermelon look more realistic, let’s add shadows and highlights. For shading, use a darker green (#007838) along the rind and a darker red (#D60D2F) for the fruit inside. This adds depth and makes it less flat.
Next, add highlights to brighten the slice. Use a lighter red (#FF516F) for the fruit area. This is where you can personalize your design — add as much or as little highlighting as you want. Here’s our example with highlights:
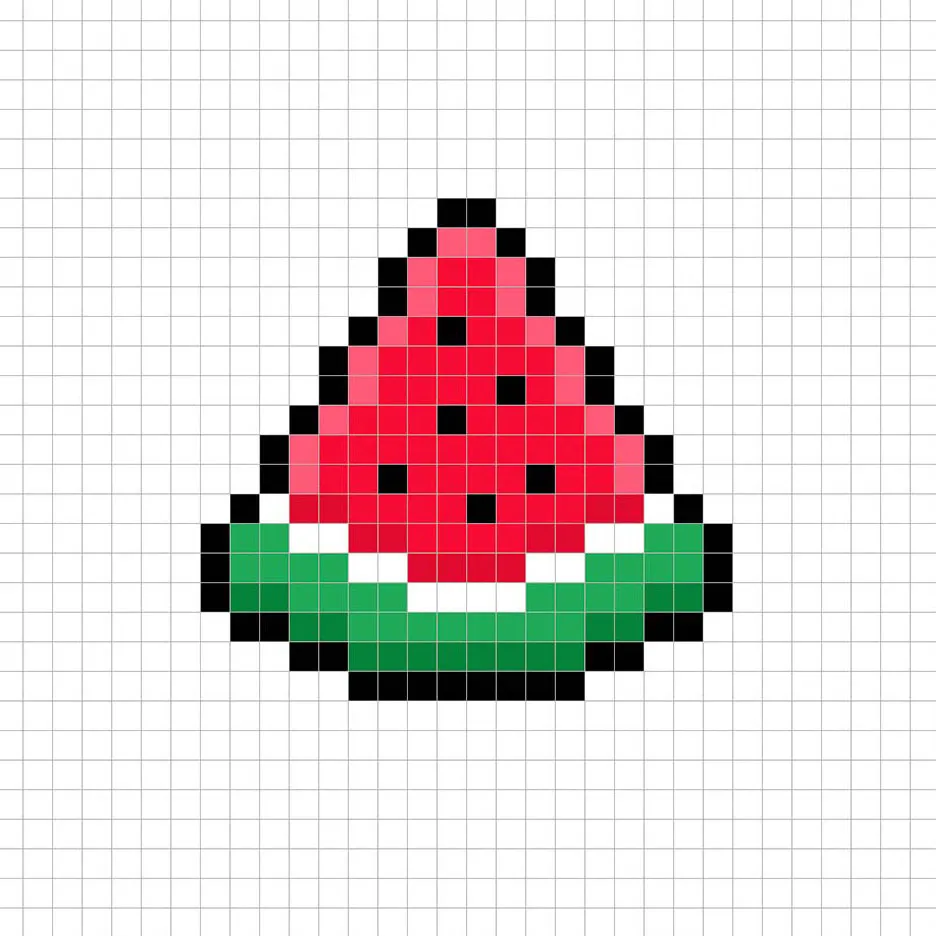
Once you’re happy with the shadows and highlights, hide the grid lines to check your finished slice. It should look something like this:
Fill the Background Color
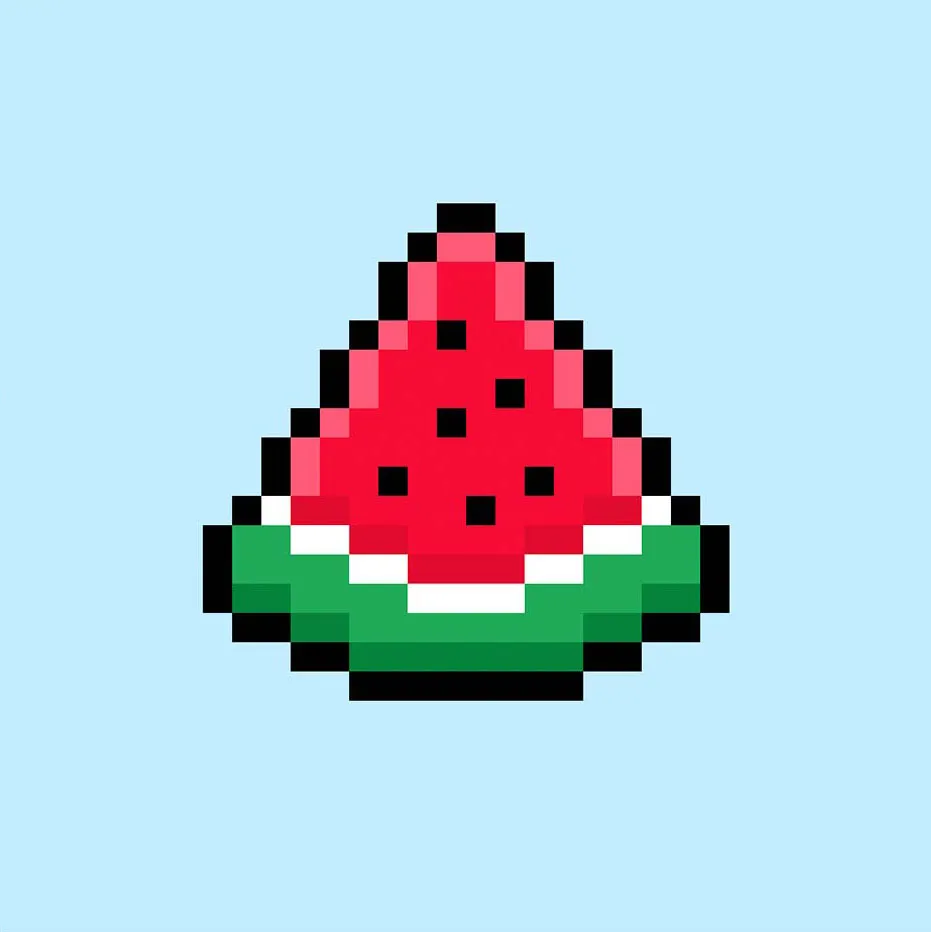
To finish it off, let’s give the sprite a background. Pick a very Light Blue (#BCEAFE) and use the bucket fill tool to color the space around the watermelon. This makes the design pop nicely.
Where to Go From Here
Great job! You’ve just drawn your own pixel art watermelon. Try experimenting with different shapes or slices to create a full summer fruit scene.
Want to see it in action? Watch our video version of this tutorial on YouTube: