Mega Voxels makes it incredibly simple to optimize the size of the grid for your voxel model, so you can wrap the grid around your voxel model. In this tutorial, we will show you how to optimize the grid for your voxel model so that you can remove most of the empty space from inside the grid.
As you begin to use your voxel art models for other projects such as video games, you will eventually run into situations where you need to remove empty space from inside the grid so that you can reduce the size of the grid in your scene. You might have thought you needed a larger grid only to realize the grid is bigger than needed and now you’re asking, how do I optimize the grid in Mega Voxels? You can certainly resize the grid like our other tutorial, How to Resize the Grid in Mega Voxels, however Mega Voxels allows you to automatically optimize the size of your grid directly in the app fast so that the overall size of the grid is as efficient as possible. We’ll go over the steps on how to optimize your voxel model grid.
This tutorial supports Mega Voxels 1.7 or newer. If you need help installing Mega Voxels, view our previous tutorial How to Install Mega Voxels. There you can find a step by step tutorial on getting Mega Voxels running on your phone or tablet.
What is a Grid and what is empty space?
In order to optimize the size of the grid, it’s a good idea to know what a grid is. A grid, when working with voxels, is a container where voxels are placed. A grid has a width (x axis), a height (y axis) and a depth (z axis). For organizational reasons, voxels are not allowed outside of a grid. A single grid represents a single voxel model. Most of the times you will start with a certain size grid, but as you get closer to finishing your voxel model you will most likely end up with what is know as white space, or empty space. This tutorial will show you how to remove this empty space automatically from your grid without having to manually resize it.
Getting Started
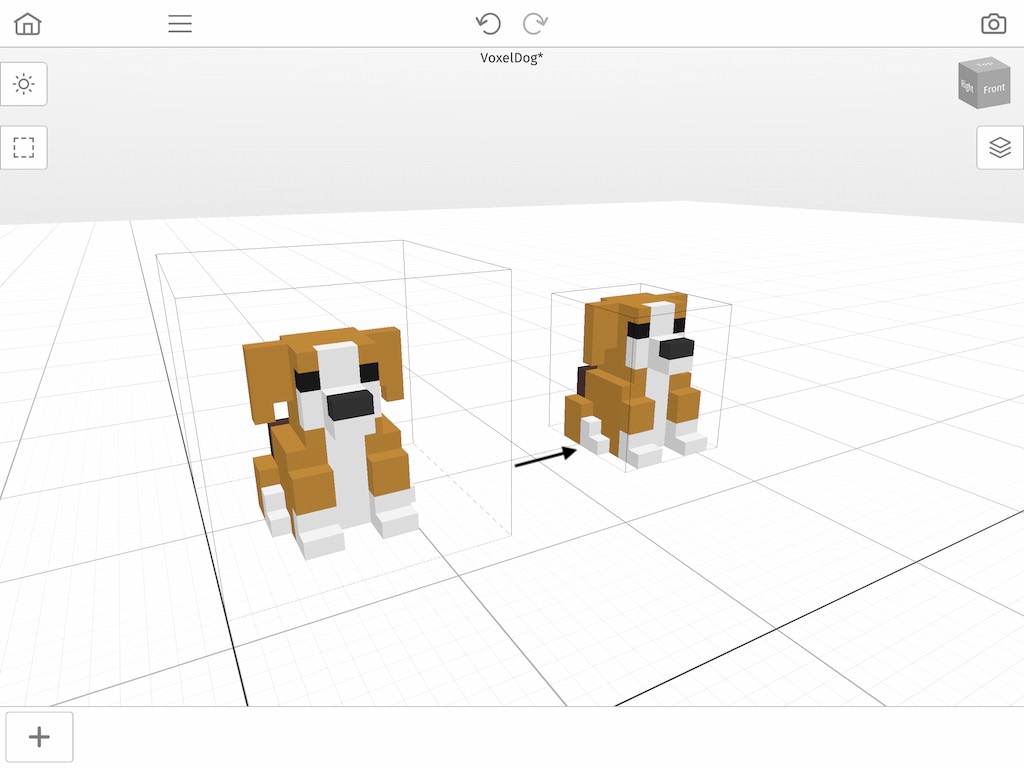
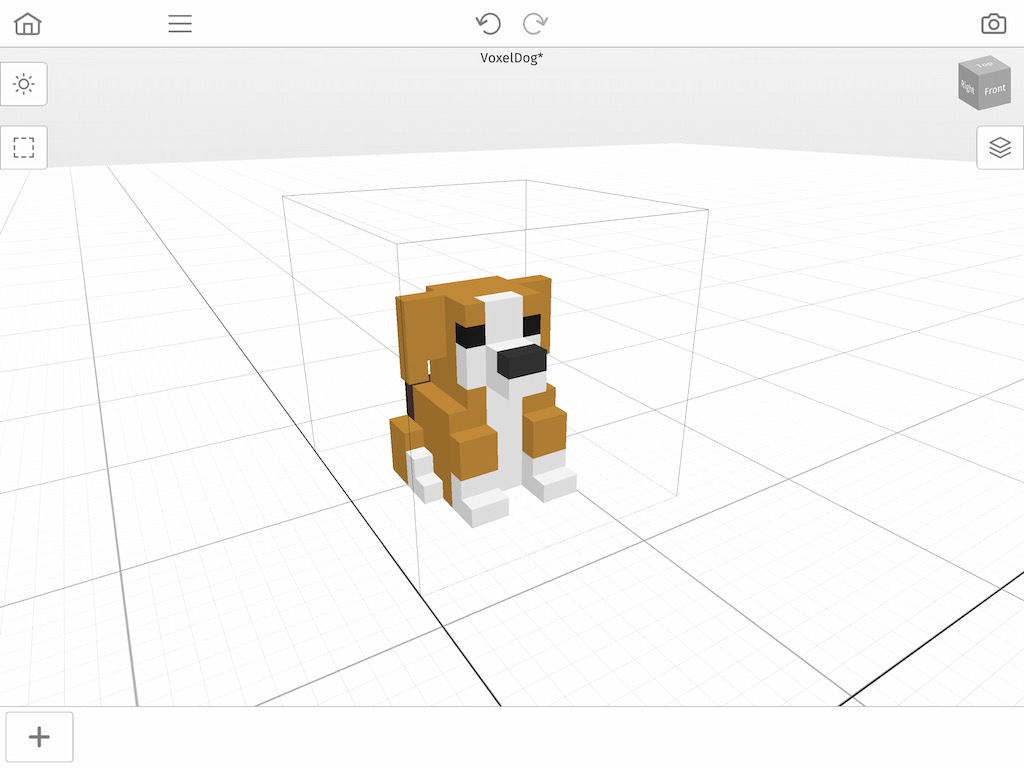
First let’s open up Mega Voxels. For this example we will use a version of our “dog” model that has a grid that is larger than what is needed for the dog model. We do this on purpose to demonstrate the optimize function, however feel free to use your own voxel model.
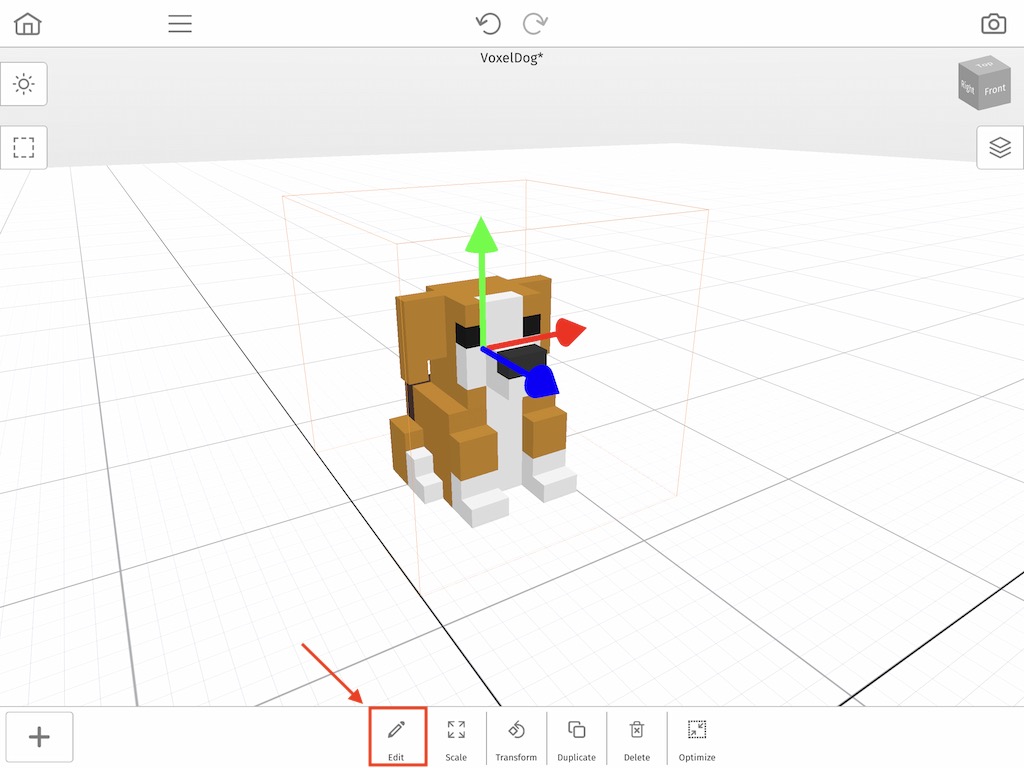
Now that we have a model opened we must go from World Mode into Model Mode. This allows us to select a single model in our scene and edit the contents of that model. One of the properties specifically is the grid size. Go ahead and tap on the model and select Edit in the context menu.
We will now cover how to remove the empty space from our grid using the Optimize function inside of Model mode.
How to Optimize the Grid
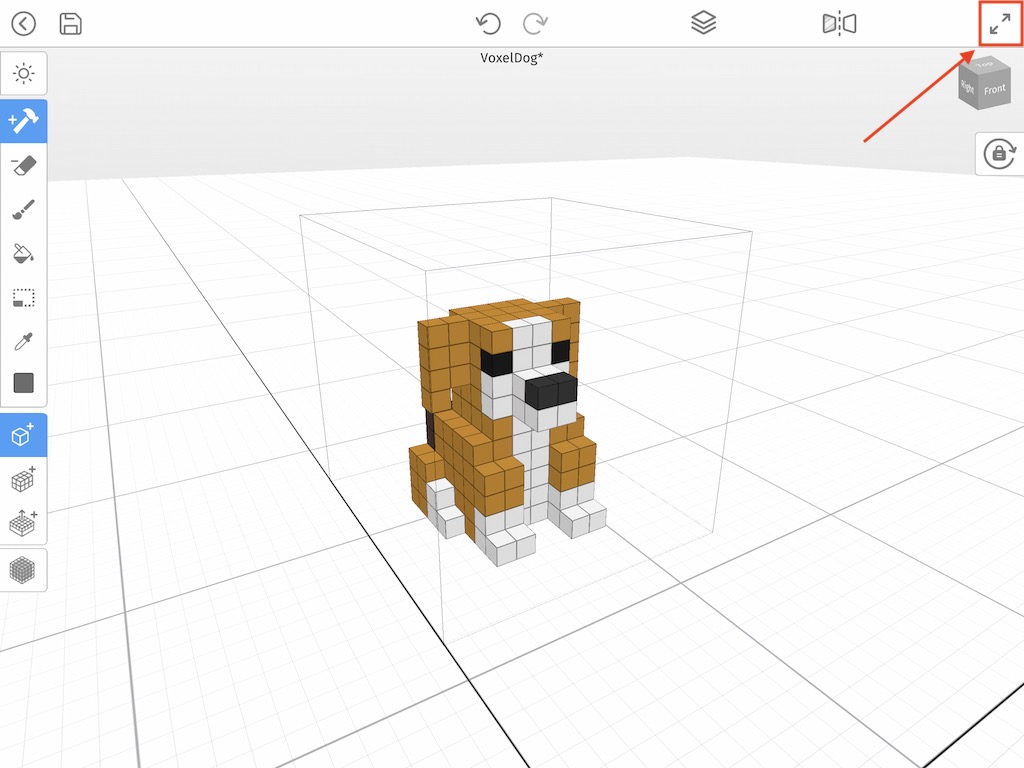
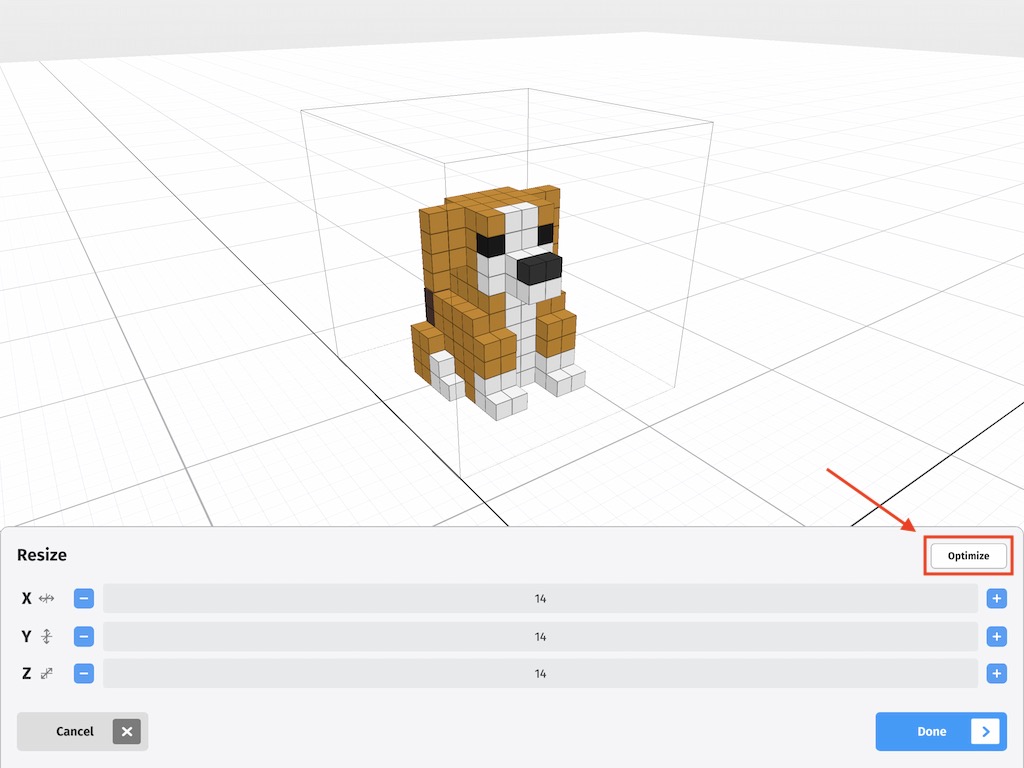
So next we will cover how to optimize the grid. You can actually see the bounds of a grid which is defined by the outline around your model like the one below. To access the optimize function for our grid simply tap on the Resize button at the top right of the screen.
When you tap the resize button a new menu will appear that says Resize. To remove the empty space from your grid tap on the button that says Optimize at the top right. This function will automatically remove any empty space inside of your grid to match the shape of the voxels inside of the grid.
When you, tap the Optimize button you will immediately be taken back to Model Mode inside of the editor. Notice how your grid is now smaller and the model fits perfectly inside of the grid.
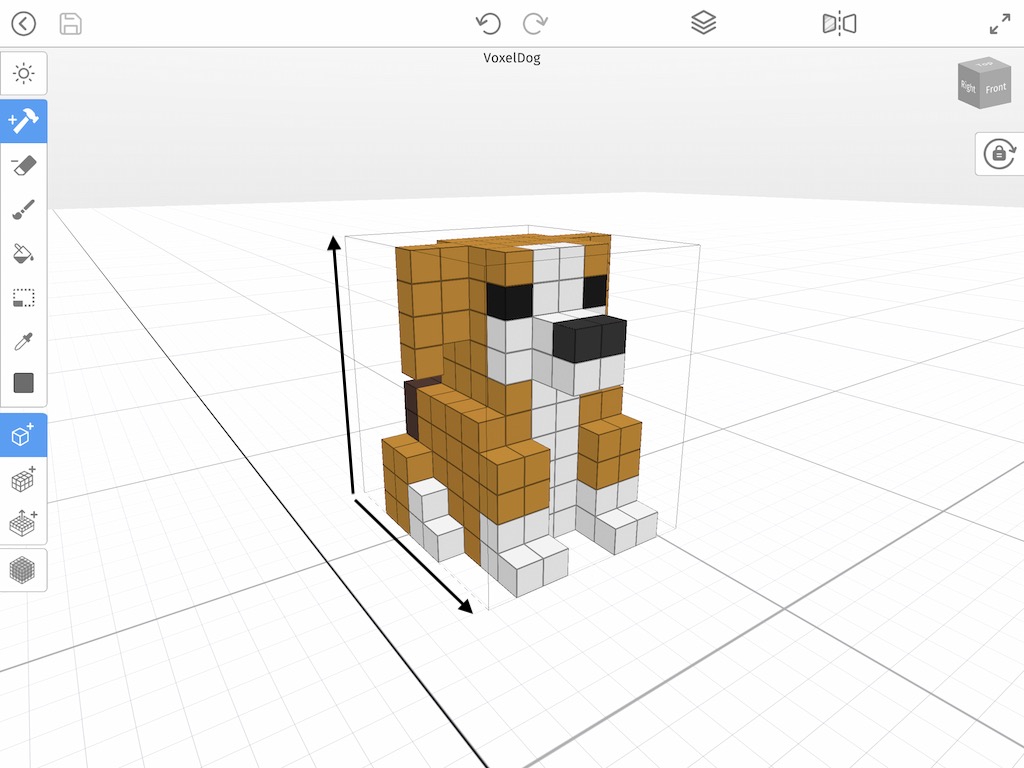
Keep in mind you can do this by manually resizing the grid but this process speeds it up significantly. Also you can increase the size of the grid by going into this same menu again.
Wrap Up
Learning this simple technique of how optimize the Grid in Mega Voxels is especially important when exporting your 3D models for games or media because most developers don’t want empty space around the model. If you have any questions please ask below. Also if you found this tutorial helpful, please consider sharing it.


