One of the best features in Mega Voxels is its ability to render high quality images and videos of your voxel models. These are created using the powerful instant rendering engine in Mega Voxels. In this tutorial we will show you how to render your voxel model using the Mega Voxels renderer.
Getting Started
To create some of the stunning graphics you see on Mega Voxels, you will have to create a render of your voxel model using the Render menu. This adds effects, filters, custom lighting and even shadows to your voxel models. To take a render you have to access it from the world mode editor. We will go over the process of how to render in Mega Voxels.
This tutorial supports Mega Voxels 1.7 or newer. If you need help installing Mega Voxels, view our previous tutorial How to Install Mega Voxels. There you can find a step by step tutorial on getting Mega Voxels running on your device.
Open a Voxel Model in Mega Voxels
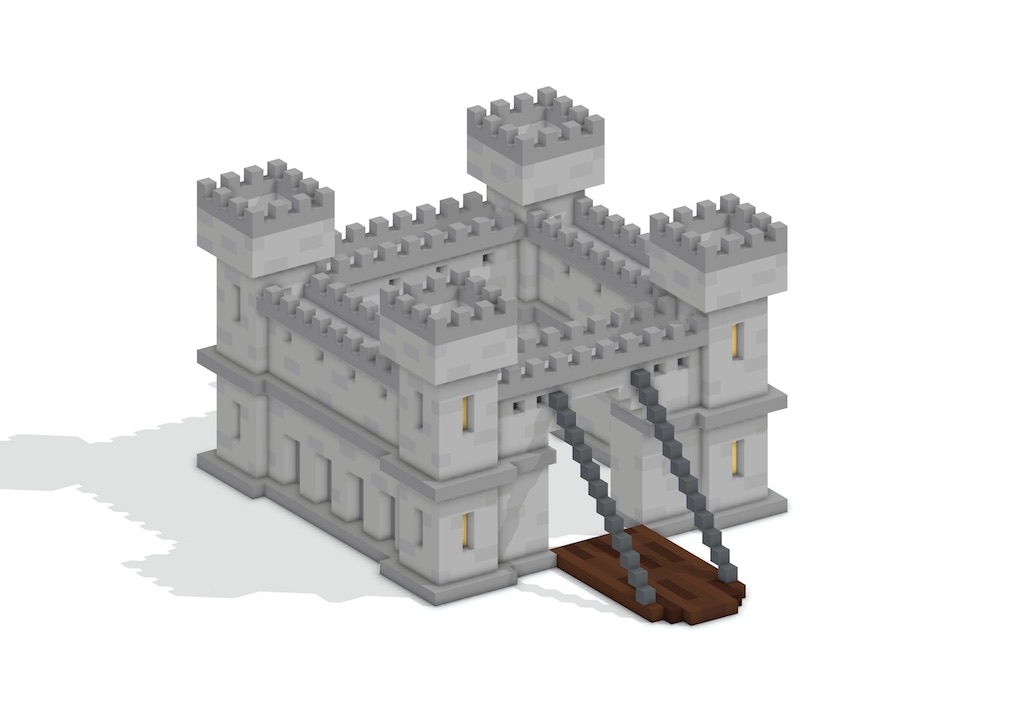
For this tutorial we will use a castle model from the shop in Mega Voxels. Of course, feel free to use your own voxel model to follow along as the steps we go over apply to any voxel model in Mega Voxels. Once you have your model open, tap on the Scene Settings menu button at the top left.
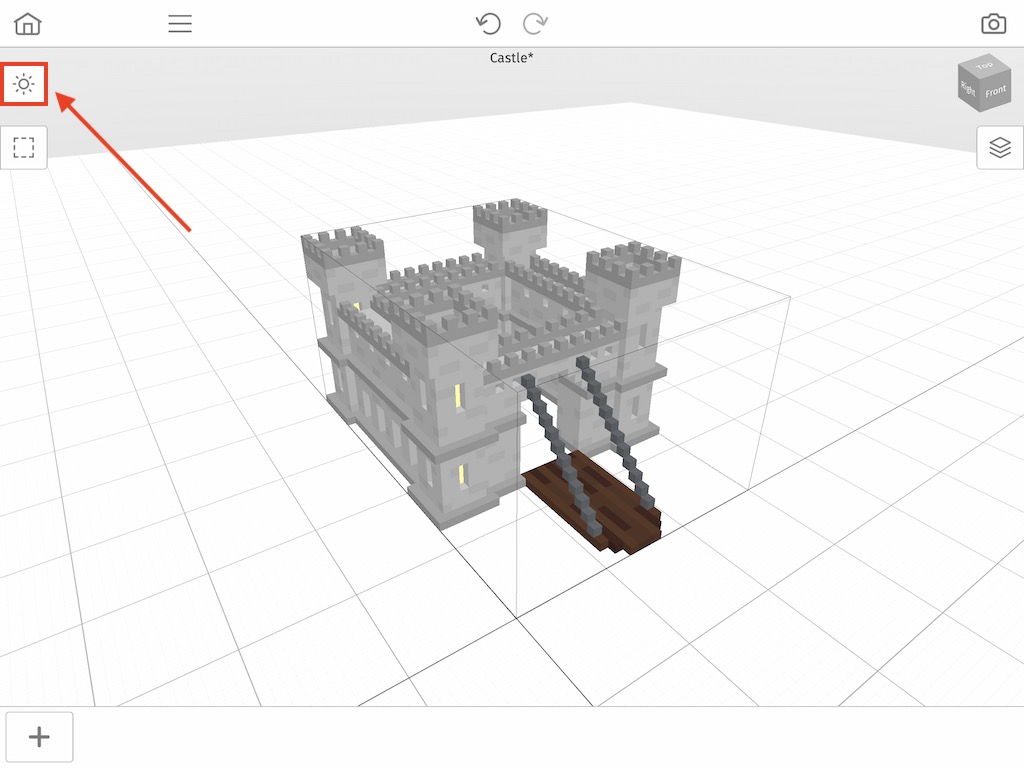
To make our render look even better we will change our camera from Perspective to Orthographic. Also we will make sure that Shadows is turned on to give it a realistic look.

How to Render a Voxel Model in Mega Voxels
To render any voxel model in Mega Voxels, first click the Render button at the top right of the Editor Window. After you click this, the render menu in Mega Voxels will open and you will see a variety of options for creating your render image or video.
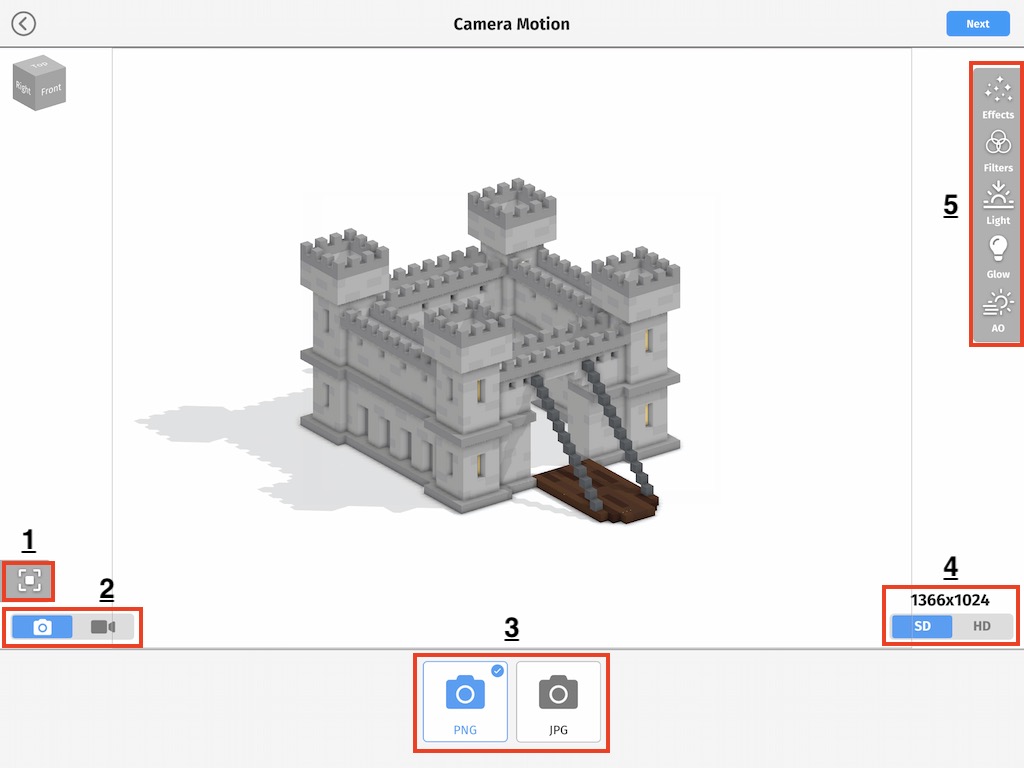
There are 5 main sections you’ll see when you open the Render menu in Mega Voxels. These are listed below:
- Focus – This shortcut will zoom in on the scene and place it at an isometric angle. This is a common angle used extensively when creating voxel art.
- Photo/Video Option – This option lets you decide whether you want your render to be a photo or video. By default the photo option is selected.
- Format – This section changes depending on whether you are rendering a photo or video. On photos you can select a PNG or JPG. On videos you can choose the recording animation.
- SD/HD – This option like it states, is whether you want a Standard definition or High definition render of your model. Keep in mind HD takes longer to process.
- Visual – This section allows you to modify the visual look of your render. This includes Special Effects, Filters, Lighting, Glow, and Ambient Occlusion.
We will cover the Special Effects, Filters and Lighting menus next.
Special Effects Menu
Like we mentioned before the Effects button in the top right is where you can apply different effects to your voxel model.
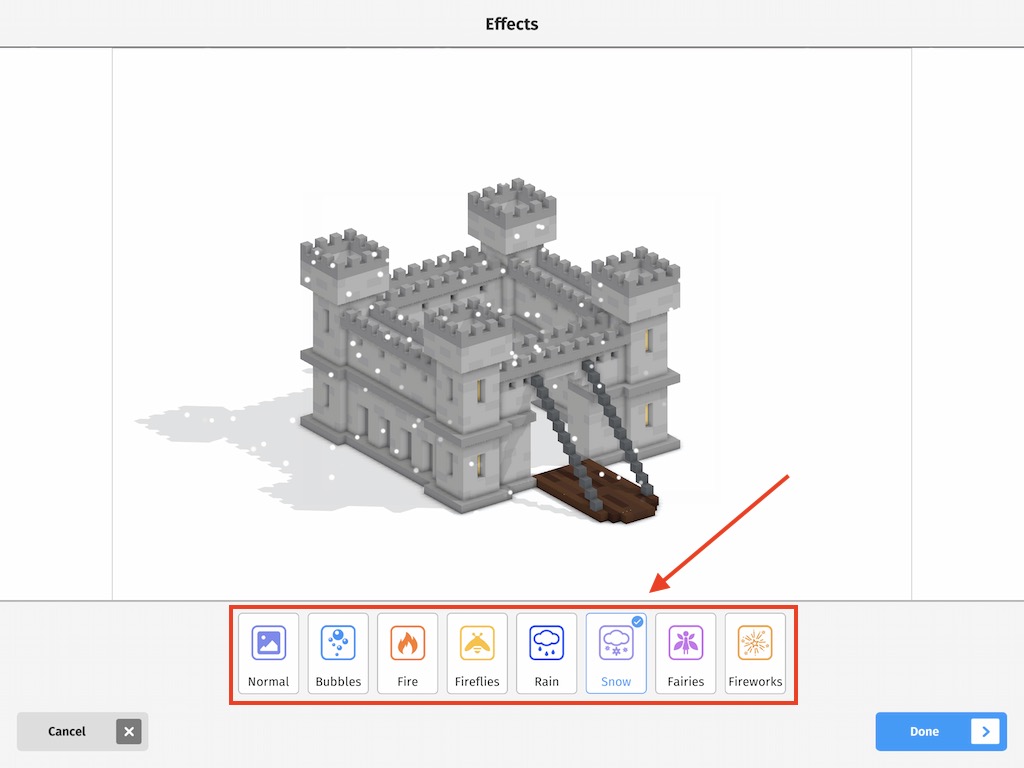
These settings apply to photos and videos. In a photo the effect will be added on top of the image. In a video the effect will be animated for the duration of the recording.
Filters Menu
The next button in the list at the top right is the Filters menu. This menu allows you to apply standards filters like you see in camera apps to your voxel model.
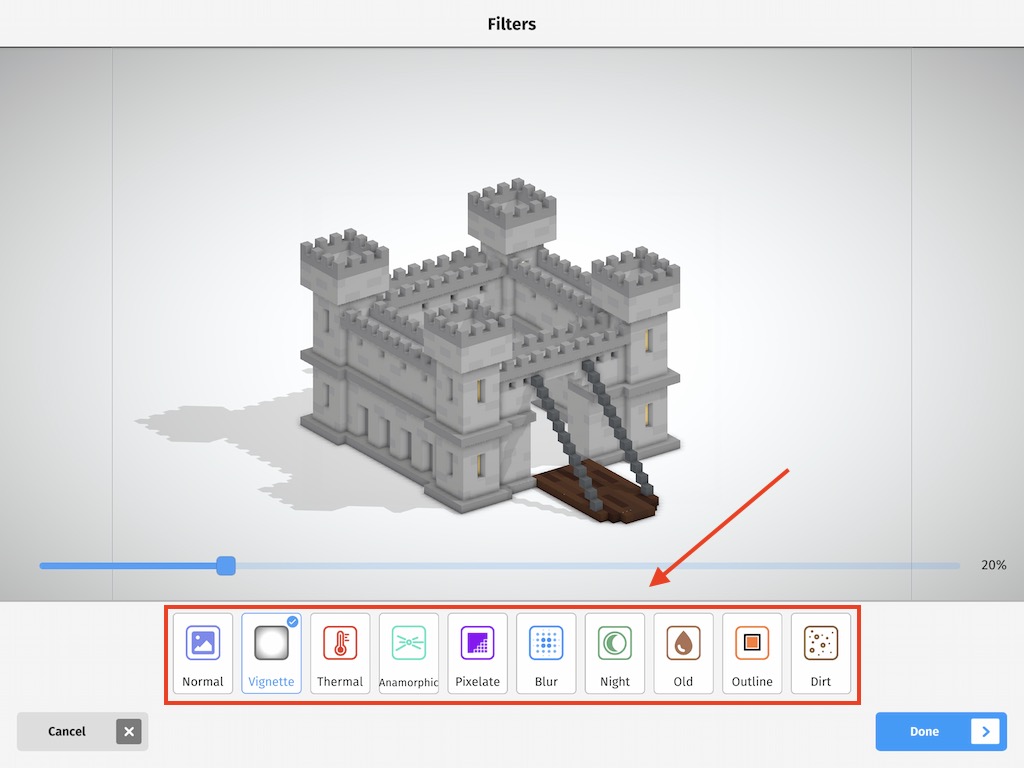
For photos this works just like popular photo apps you use all the time. A filter will be applied on top of the image. For a video this works the exact same way.
Light Menu
The Light menu is where you adjust the light intensity, angle and shadows of your voxel model.
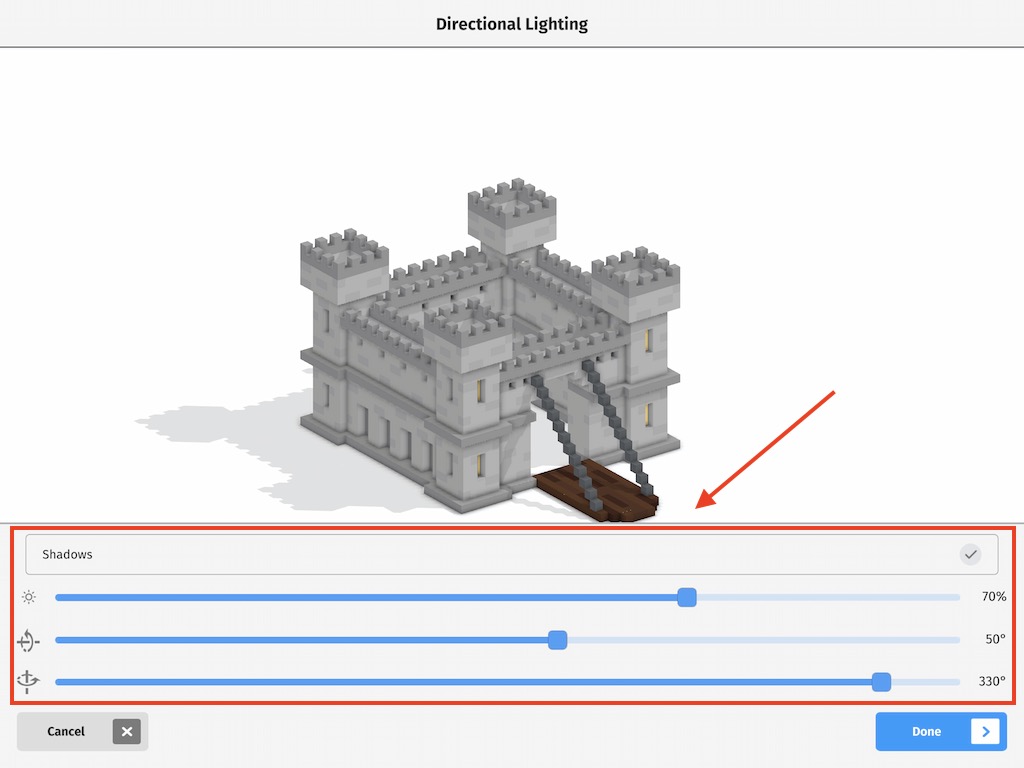
Shadows are optional and ultimately are shown based on the light direction you specify.
Save a Render of your Voxel Model
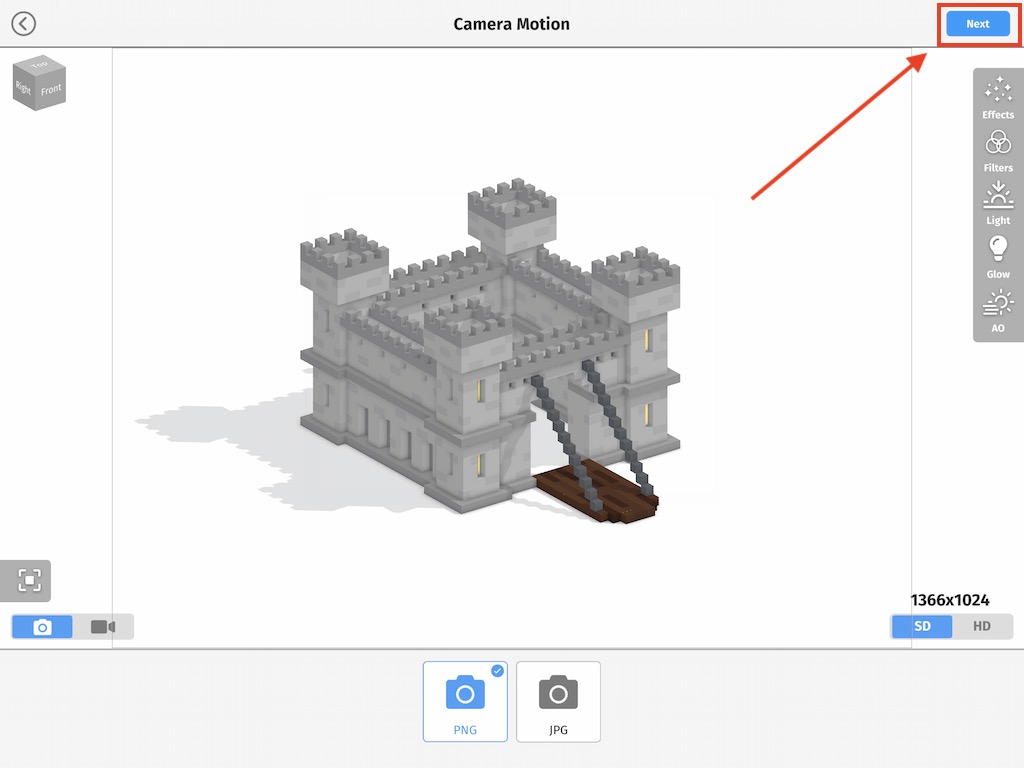
After you finish selecting your options, you can now process your render. The good news is it is extremely fast and sharing is super easy. Tap the next button at the top right.
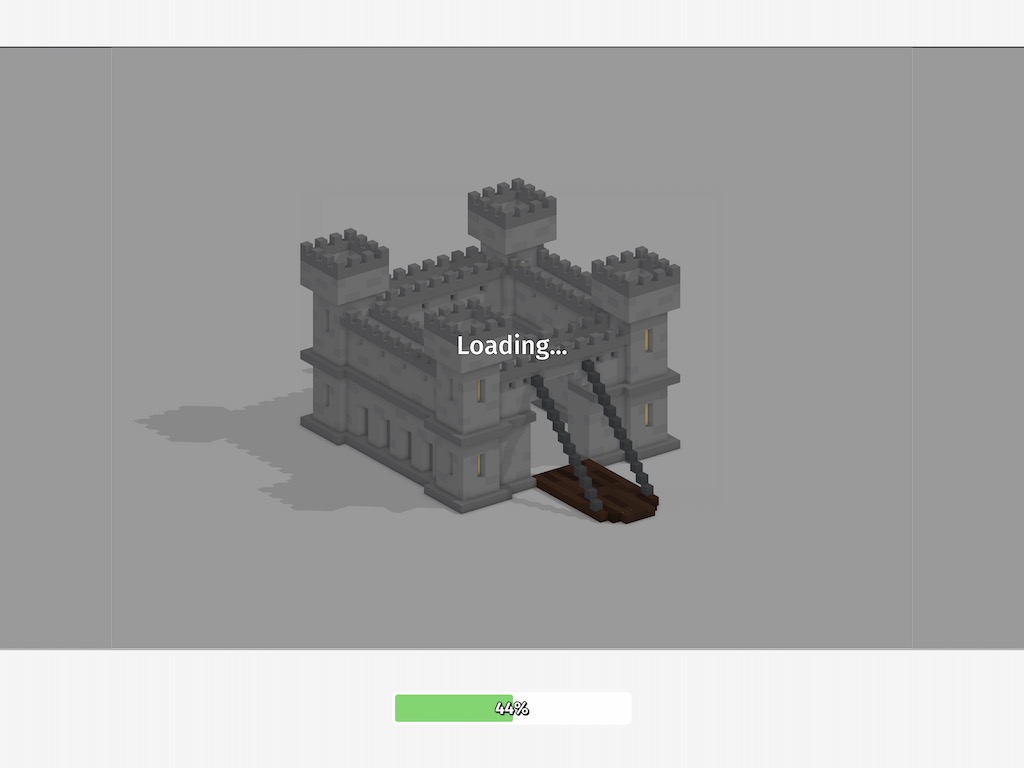
The next screen is a temporary loading screen. Photo Renders only take a second or two, however a video render might take a few seconds longer.
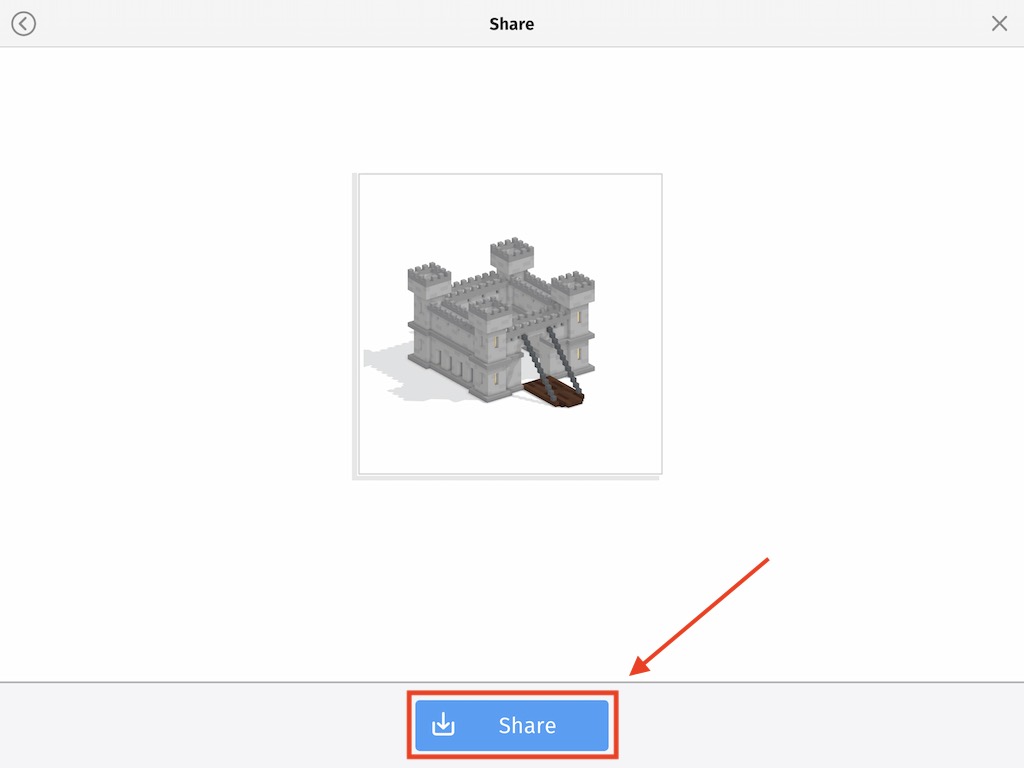
Once this finishes you will see a preview of your render on screen. To save the model to your device or to share it to a social network simply tap the Share button in the middle.
Where to go from Here
Now that you know how to render voxel models in Mega Voxels, you can experiment with the various settings to create your own custom look. Let us know if you have any questions.


